Per-Database Settings
Every Kakuremi database carries its own settings — its master password, YubiKey enrollment, name, and backup behavior. This guide covers where to find those settings and what each one does.
Open Database Settings
Settings belong to the database, not the app — each vault has its own. Unlock the vault, open the Browser, and tap the gear to open Database settings. From here you manage everything specific to that one .kdbx file.
Change the Master Password
Tap Change Master Password to set a new password for the vault. Kakuremi updates the matching biometric entry in the iOS Keychain at the same time, so Face ID continues to unlock the database without re-enrolling.
Manage YubiKey Protection
Use YubiKey Protection to enroll or remove an NFC YubiKey for this vault. Once enrolled, you tap the key during unlock as a second factor. See the YubiKey (NFC) guide for setup details.
Edit Name and Description
Edit the vault's display Name and Description to tell your databases apart. These labels are stored inside the file and affect how the vault is shown in the app.
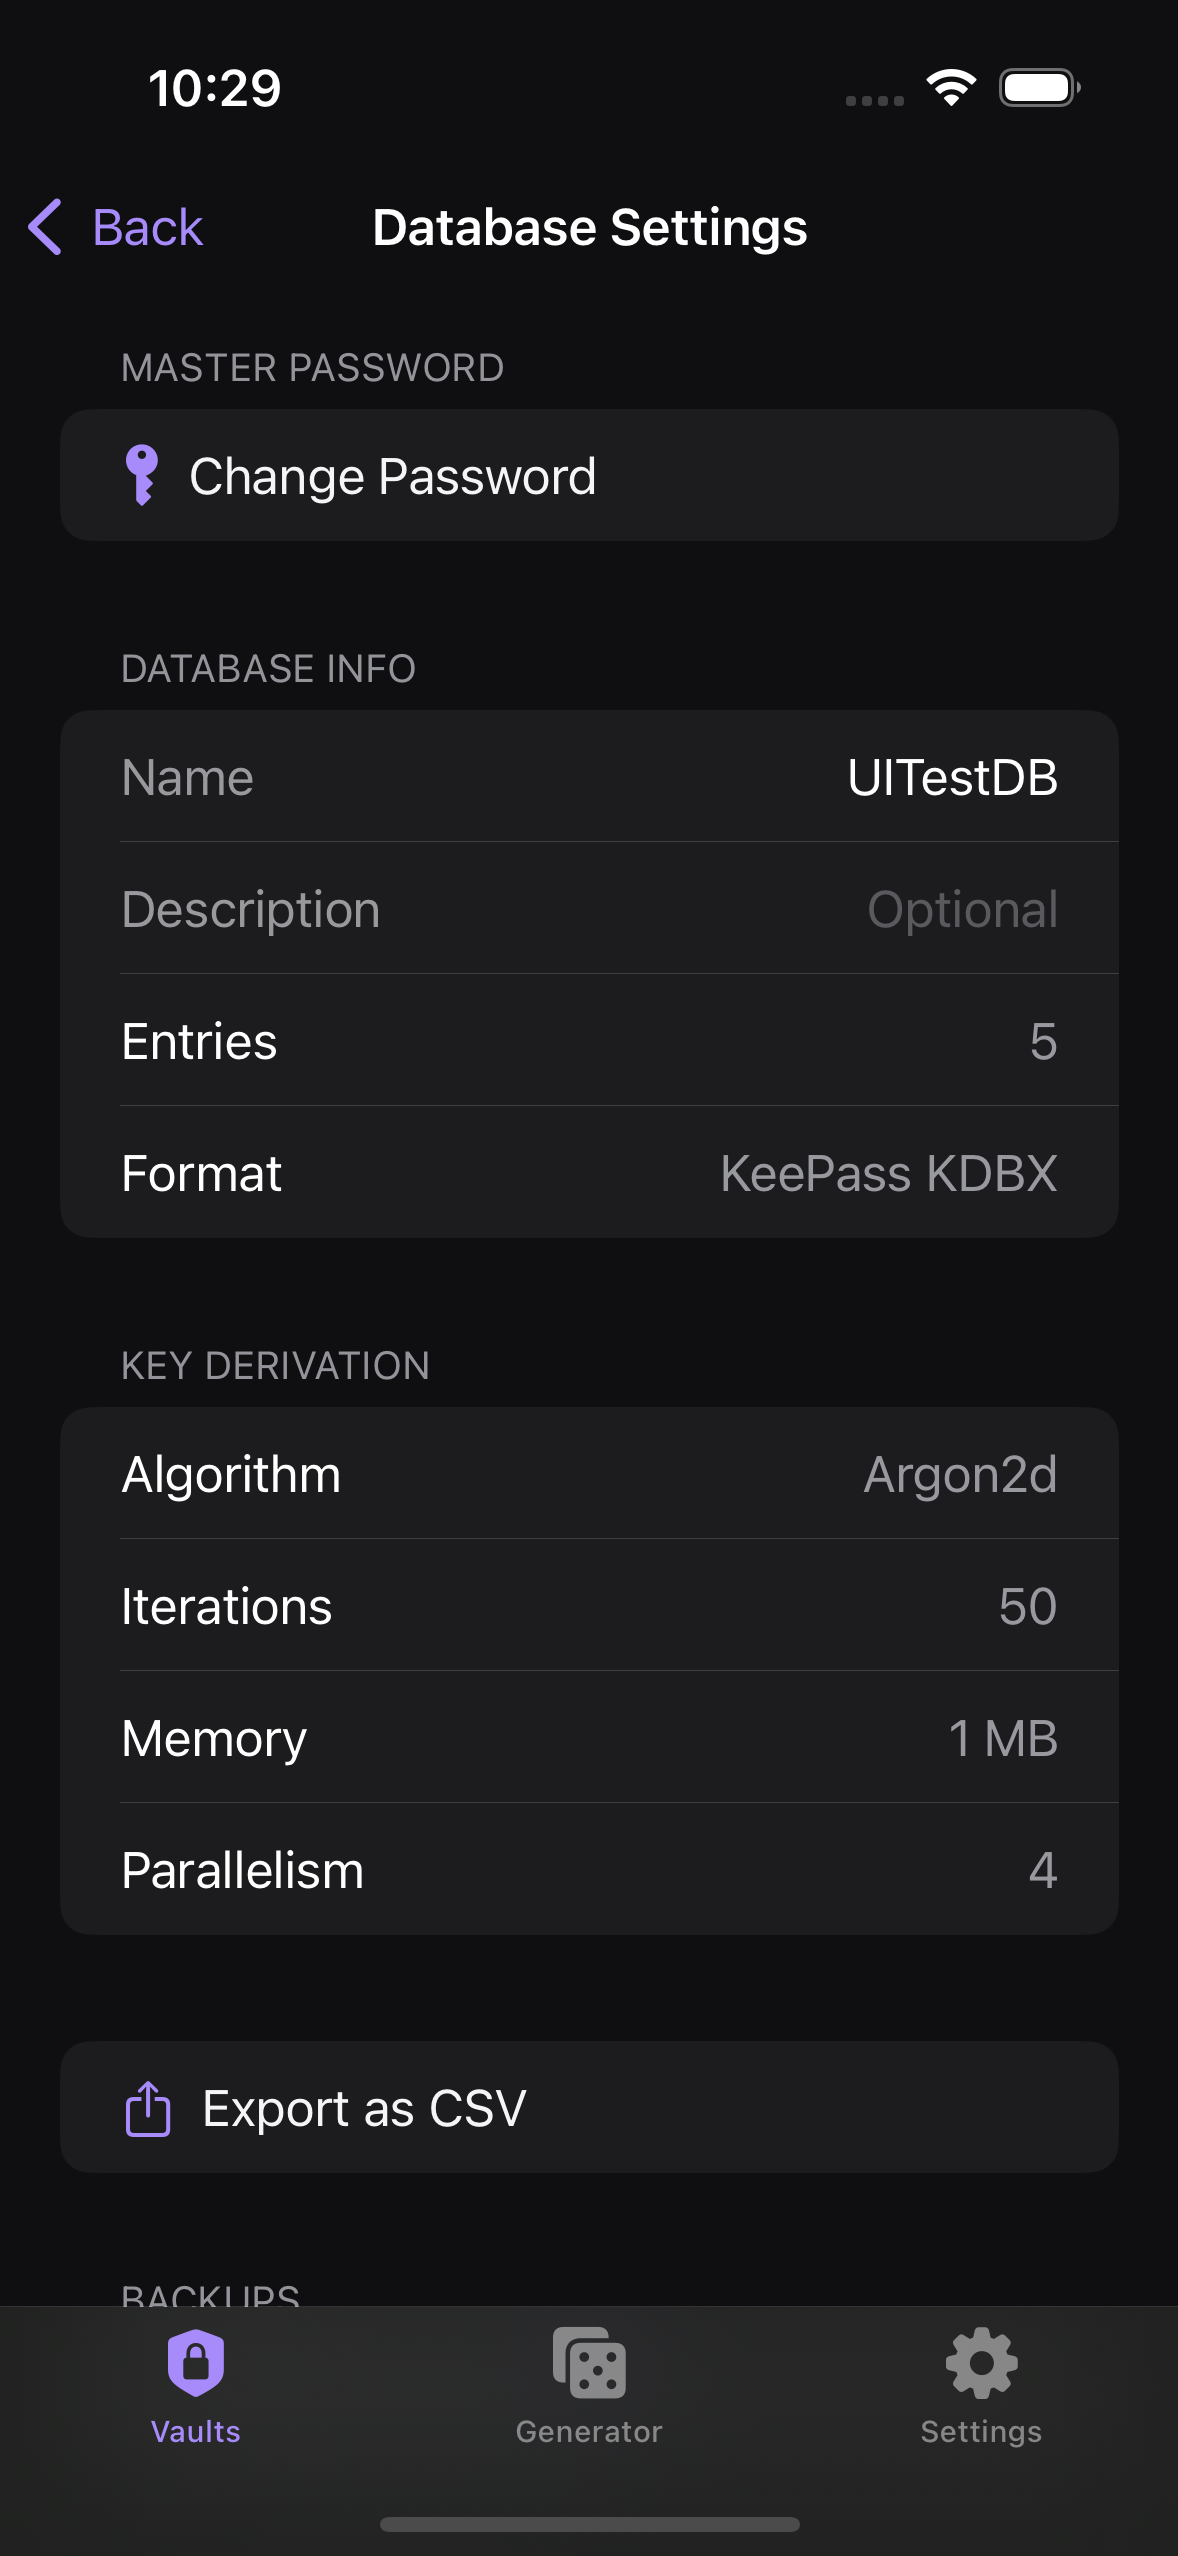
Review Key Derivation
The Key Derivation (KDF) section shows the parameters used to derive the encryption key from your master password. These values are displayed for reference only; there is no in-app Argon2 tuning.
Export as CSV
Tap Export as CSV to write all entries in the vault to a .csv file.
Enable Automatic Backups
With Automatic Backups turned on, Kakuremi keeps automatic encrypted backups of the vault.
Database settings. A key file is attached when you unlock the database, not configured here.